


WoW Midnight Voidspire Raid Guide: Every Boss, All the Loot, and How to Clear It Fast
The biggest raid of World of Warcraft: Midnight's Season 1 is here, and if you're not prepared, the Voidspire will make sure you know it. This six-boss linear raid, set in the Voidstorm zone of Quel'Thalas, is designed to push your team's skills to their limits. Normal and Heroic unlock on March 17, 2026, with Mythic following on March 24. That means the window to prepare is short.
This guide is the most complete Voidspire resource available before launch. We cover every boss mechanic, role-specific strategies, full loot tables, tier set acquisition, key achievements, and the fastest path to the best gear — including how Armada Boost's Voidspire carry services can help.
Power up your WoW character faster 💪
Reach the highest level, prepare for raids or M+, and get the best gear in the game – it's so much easier with our pro carries. Check out ArmadaBoost's WoW boosting services and achieve anything you need in no time.
Raid Overview and Entry Requirements
Release Schedule
|
Date
|
What Unlocks
|
|
March 17, 2026
|
Normal, Heroic, LFR Wing 1 (Bosses 1–2)
|
|
March 24, 2026
|
Mythic, LFR Wing 2 (Bosses 3–4), Story Mode
|
|
March 31, 2026
|
LFR Wing 3 (Bosses 5–6), March on Quel'Danas opens
|
Entry Requirements by Difficulty
|
Difficulty
|
ilvl Requirement
|
Group Size
|
Composition
|
|
LFR
|
220 (Adventurer 1)
|
10–30 (queued)
|
Auto-assigned
|
|
Normal
|
None (Level 90)
|
10–30
|
2 tanks, 3–6 healers, remainder DPS
|
|
Heroic
|
None (recommended 230–240+)
|
10–30
|
2 tanks, 3–6 healers, remainder DPS
|
|
Mythic
|
None (recommended 250+)
|
Fixed 20
|
2 tanks, 4–5 healers, remainder DPS
|
Loot System and Gear Progression
Item Level Ranges per Difficulty
|
Difficulty
|
Track
|
Base Drop Range
|
Max Upgraded
|
|
LFR
|
Veteran
|
233–243
|
250
|
|
Normal
|
Champion
|
246–256
|
263
|
|
Heroic
|
Hero
|
259–269
|
276
|
|
Mythic
|
Myth
|
272–282
|
289 |
Catalyst System
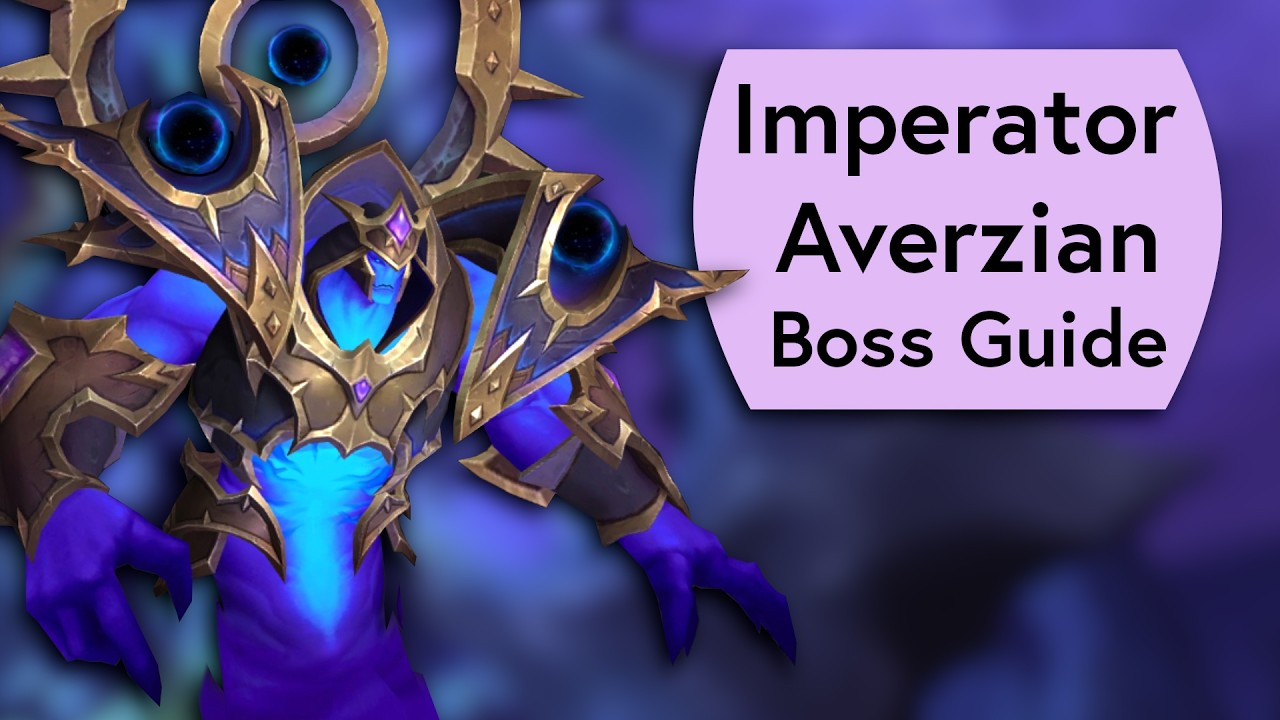
Boss 1: Imperator Averzian — The Grid Control Fight
Key Abilities
|
Ability
|
What It Does
|
|
Shadow's Advance
|
Summons Abyssal Voidshapers onto the grid. Claimed territory is permanent.
|
|
Umbral Collapse
|
Soak mechanic splitting Shadow damage among players within 10 yards. Soaking prevents a grid square from being claimed.
|
|
Dark Tears
|
Void rifts over claimed spaces that summon adds. Adjacent tears empower each other.
|
|
Dark Upheaval
|
Escalating raid-wide Shadow damage as the arena fills.
|
|
Blackening Wounds
|
Tank debuff reducing max HP by 4% per stack for 20 seconds.
|
|
Imperator's Glory
|
Boss gains 99% damage reduction within 10 yards of claimed territory.
|
|
Gathering Darkness
|
If a Voidshaper is not killed or interrupted, it transforms into a more dangerous Obscurion Endwalker.
|
Role-Specific Strategies
- Allowing a three-in-a-line formation (March of the Endless)
- Killing the wrong adds and inadvertently creating a winning line
- Missing interrupts on Voidshapers
- Dragging adds into the boss
Loot Table
|
Item
|
Type
|
Slot
|
|
Bulwark of Noble Resolve
|
Shield
|
Off-Hand
|
|
Sunstrike Rifle
|
Gun
|
Ranged
|
|
Weight of Command
|
1H Mace
|
One-Hand
|
|
Light Company Guidon
|
Trinket
|
Trinket
|
|
Devouring Night's Visage
|
Leather
|
Head
|
|
Endless March Waistwrap
|
Cloth
|
Waist
|
|
Imperator's Banner
|
Cloak
|
Back
|
|
Leggings of the Devouring Advance
|
Cloth
|
Legs
|
|
Light-Judged Spaulders
|
Plate
|
Shoulder
|
|
Light's March Bracers
|
Plate
|
Wrist
|
|
Robes of the Voidbound
|
Mail
|
Chest
|
|
Sabatons of Obscurement
|
Mail
|
Feet
|
|
Void-Claimed Shinkickers
|
Leather
|
Feet
|
|
Imperator's Torment Crystal
|
Housing Decor
|
— |
M+ carries – your team is ready now 🔥
Want even more epic loot this week? Add a high-level Mythic Plus run to your raid routine. Our pro team will take you through the most challenging dungeons at the highest difficulty – explore our Mythic Plus boosts to learn more. Order now, get your team ready in minutes, and speed up your gearing.
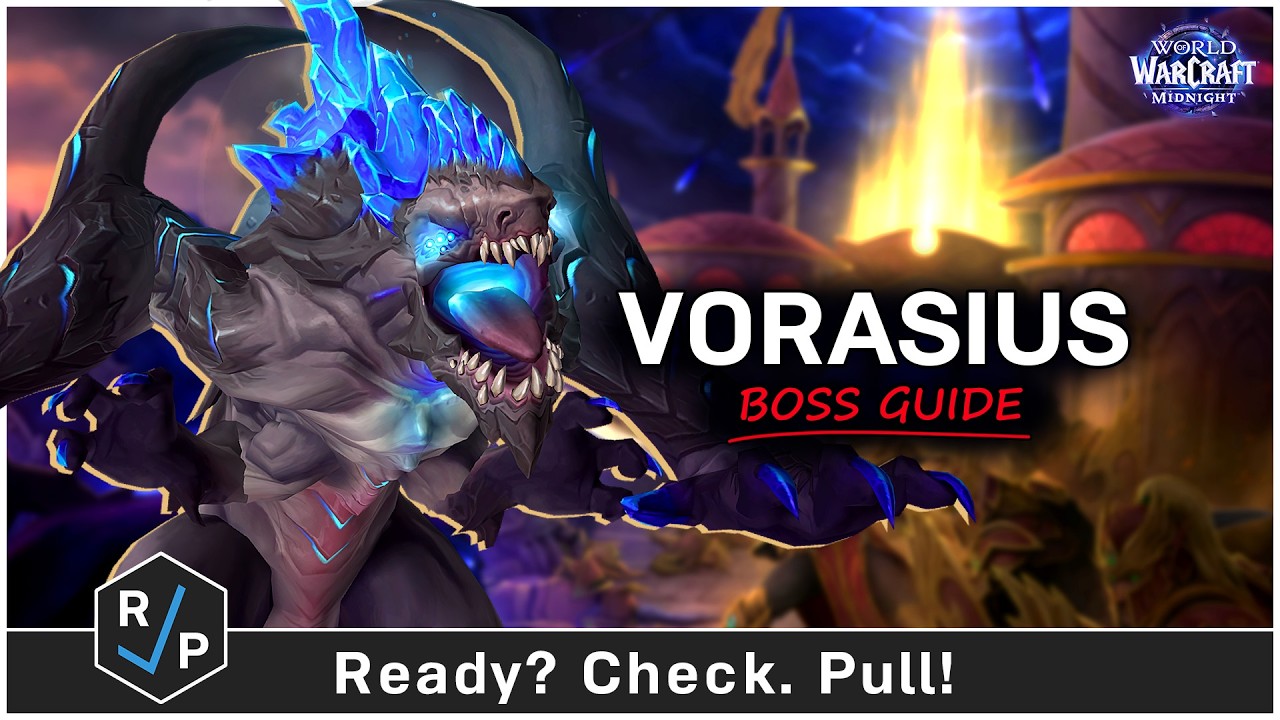
Boss 2: Vorasius — The Wall Management DPS Check
Key Abilities
|
Ability
|
What It Does
|
|
Smashing Frenzy
|
Frontal slam on tanks. Applies Smashed debuff (50% increased Physical damage taken). If no tank is in range, the entire raid takes massive damage instead.
|
|
Crystalline Eruption
|
Creates Void Crystal walls in a line after each slam.
|
|
Parasite Expulsion
|
Scatters Blistercreep adds that fixate on random players.
|
|
Blisterburst
|
Blistercreep death explosion: heavy Shadow damage within 8 yards, destroys Void Crystals. Applies 100% increased Shadow damage taken for 30 seconds.
|
|
Primordial Roar
|
Pull-in + knockback + stacking Gathering Void (permanent increased Shadow damage). This is the fight's soft enrage mechanic.
|
|
Void Breath
|
Sweeping beam across the arena. Changes direction each cycle.
|
Role-Specific Strategies
- No planned gap in walls for Void Breath
- Parasites killed away from walls
- An empty Smashing Frenzy hitting the raid
- Reaching the third Breath cycle.
Loot Table
|
Item
|
Type
|
Slot
|
|
Hungering Victory
|
Dagger
|
One-Hand
|
|
Inescapable Reach
|
Polearm
|
Two-Hand
|
|
Grimoire of the Eternal Light
|
Off-Hand
|
Off-Hand
|
|
Heart of Ancient Hunger
|
Trinket
|
Trinket
|
|
Signet of the Starved Beast
|
Ring
|
Finger
|
|
Frenzy's Rebuke
|
Mail
|
Head
|
|
Parasite Stompers
|
Plate
|
Feet
|
|
Void-Skinned Bracers
|
Leather
|
Wrist
|
|
Voracious Wristwraps
|
Cloth
|
Wrist
|
|
Tier Tokens (all 4 variants)
|
Token
|
Hands |
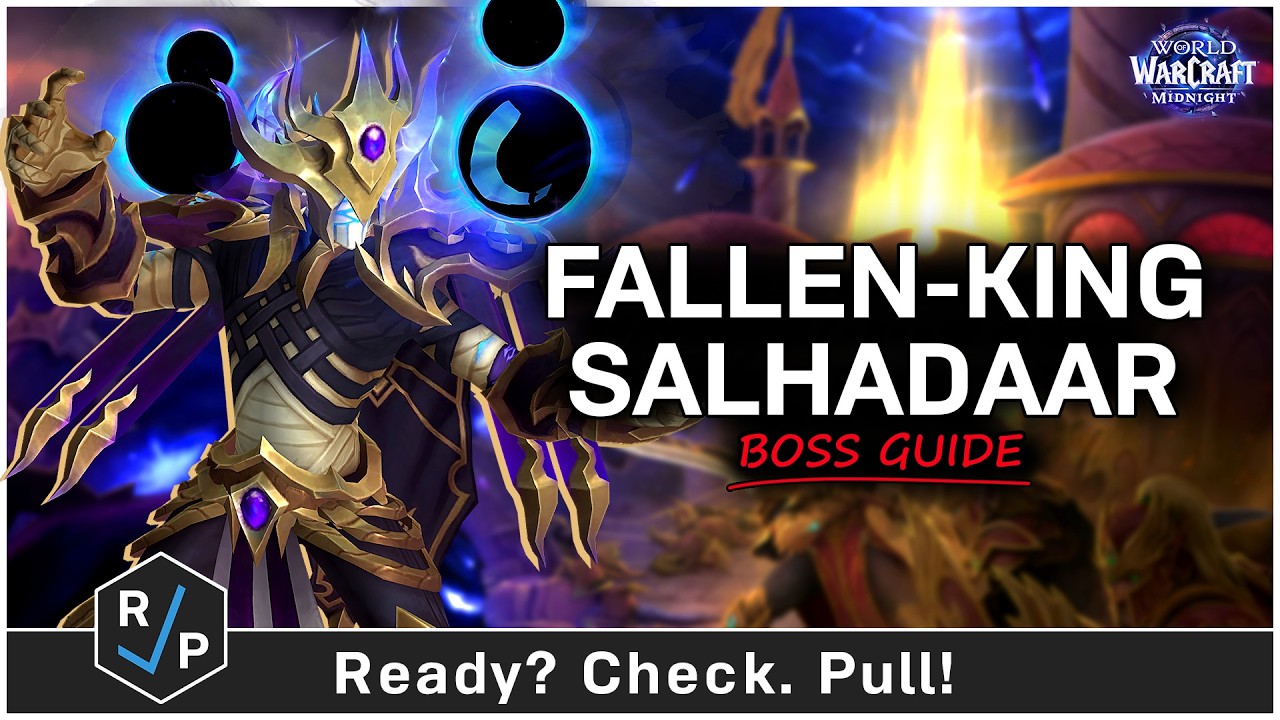
Boss 3: Fallen-King Salhadaar — The High-APM Orb Control Encounter
Key Abilities
|
Ability
|
What It Does
|
|
Entropic Unraveling
|
At 100 energy: 25% increased damage taken for 20 sec, then leaves a Torturous Extract pool.
|
|
Void Convergence
|
Orbs travel toward the boss. On Heroic+, destroyed orbs apply Dark Radiation (Shadow damage every 2 sec for 8 sec, stacks).
|
|
Fractured Projection
|
Summons Fractured Images casting Shadow Fracture (interruptible). Uninterrupted casts deal heavy raid damage and leave Torturous Extract pools.
|
|
Despotic Command
|
Aura on several players dealing Shadow damage within 5 yards. On expiry: Oppressive Darkness (massive healing absorb) + pool. Must be dispelled carefully.
|
|
Destabilizing Strikes
|
Tank DoT applied through melee attacks.
|
|
Shattering Twilight
|
Dark star at tank, heavy Shadow damage on impact with Twilight Spikes erupting outward. On Heroic+: bounces to additional players.
|
|
Twisting Obscurity
|
Chains between all players, dealing Shadow damage and a DoT to everyone hit.
|
Role-Specific Strategies
Loot Table
|
Item
|
Type
|
Slot
|
|
Blade of the Final Twilight
|
Sword
|
One-Hand
|
|
Tormentor's Bladed Fists
|
Fist Weapon
|
One-Hand
|
|
Cosmic Ritual Stone
|
Neck + Toy
|
Neck
|
|
Volatile Void Suffuser
|
Trinket
|
Trinket
|
|
Wraps of Cosmic Madness
|
Trinket
|
Trinket
|
|
Crown of the Fractured Tyrant
|
Plate
|
Head
|
|
Despotic Raiment
|
Cloth
|
Chest
|
|
Fallen King's Cuffs
|
Mail
|
Wrist
|
|
Ribbon of Coiled Malice
|
Neck
|
Neck
|
|
Twisted Twilight Sash
|
Leather
|
Waist
|
|
Pattern: Sunfire Silk Spellthread
|
Recipe
|
—
|
|
Banded Domanaar Storage Crate
|
Housing Decor
|
—
|
|
Tier Tokens (all 4 variants)
|
Token
|
Shoulders |
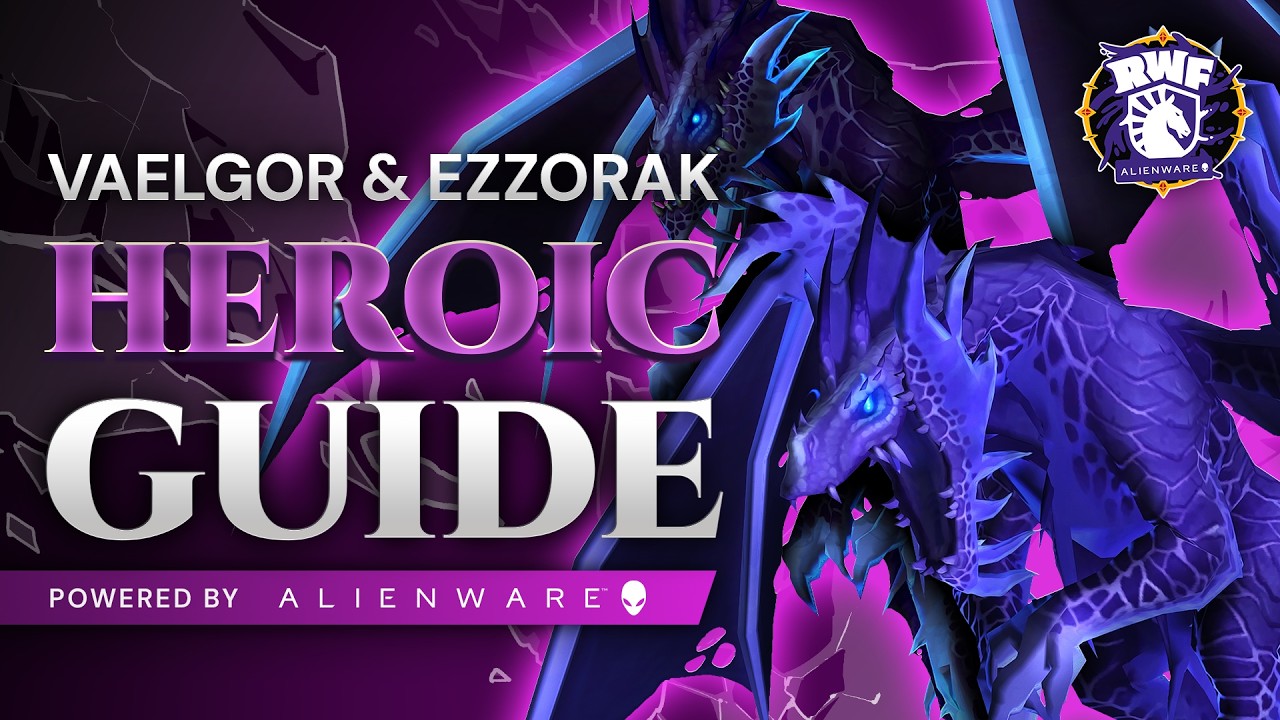
Boss 4: Vaelgor & Ezzorak — The Twin Dragon Balance Fight
Key Abilities
|
Ability
|
What It Does
|
|
Gloom (Ezzorak)
|
Frontal projectile creating a Gloomfield (persistent void zone, 75% slow). Size decreases with each player soak (up to 7). Each soak applies Gloomtouched (stacking Shadow DoT). On Heroic+: players who soak one Gloom cannot soak the next.
|
|
Nullbeam (Vaelgor)
|
4-second frontal on tank creating a Nullzone that tethers and pulls all players inward. If only one tethered player remains: Nullzone Implosion (devastating raid damage).
|
|
Dread Breath (Vaelgor)
|
Wide frontal fear cone on a random player (heavy Shadow damage + 50% movement speed reduction + 21-second fear).
|
|
Void Howl (Ezzorak)
|
Spawns Voidorbs at each player's location, casting interruptible Voidbolt.
|
|
Midnight Flames (Intermission)
|
At 100 energy, both dragons fly and unleash devastating Shadow damage. Reduced by stacking inside the Radiant Barrier (a Lightbound Vanguard shield).
|
Role-Specific Strategies
- HP divergence beyond 10%
- Unsorted Gloom orbs consuming the arena
- Nullzone Implosion from a solo tethered player
- Failing to stack inside Radiant Barrier during Midnight Flames
Loot Table
|
Item
|
Type
|
Slot
|
|
Emblazoned Sunglaive
|
Glaive
|
Two-Hand
|
|
Vaelgor's Fearsome Grasp
|
Fist Weapon
|
One-Hand
|
|
Clutchmates' Caress
|
Trinket
|
Trinket
|
|
Vaelgor's Final Stare
|
Trinket
|
Trinket
|
|
Draconic Nullcape
|
Cloth
|
Back
|
|
Gloom-Spattered Dreadscale
|
Plate
|
Chest
|
|
Ezzorak's Gloombind
|
Mail
|
Waist
|
|
Nullwalker's Dread Epaulettes
|
Leather
|
Shoulder
|
|
Slippers of the Midnight Flame
|
Cloth
|
Feet
|
|
Voidbound Holding Cell
|
Housing Decor
|
—
|
|
Tier Tokens (all 4 variants)
|
Token
|
Legs |
Gold delivery – safe and fast 🚀
Need a quick top-up? We can deliver any amount of gold to any server and either faction. Visit our WoW Gold page to learn more – place an order now, get your gold delivered to you swiftly, and buy anything you want in the game today.
Boss 5: Lightblinded Vanguard — The Paladin Council Fight

Key Abilities by Boss
|
Ability
|
What It Does
|
|
Aura of Wrath (100 energy)
|
Increases Holy damage done by allies within 40 yards by 100%.
|
|
Execution Sentence
|
3 soak circles on marked players. Cannot overlap (500% increased damage taken debuff). Followed by Divine Hammer spirals.
|
|
Sacred Toll
|
Unavoidable heavy raid nuke — a major healing cooldown checkpoint.
|
|
Judgment → Final Verdict
|
Tank combo: Judgment increases Final Verdict damage by 200% (Heroic) / 500% (Mythic). Must swap immediately.
|
|
Ability
|
What It Does
|
|
Aura of Devotion (100 energy)
|
Reduces damage taken by allies within 40 yards by 75%. Do not tunnel targets inside this aura.
|
|
Divine Toll
|
Waves of shields every 2 seconds for 18 seconds. Being hit deals Holy damage + a 4-second silence. Critical to dodge.
|
|
Avenger's Shield
|
Targets several players with heavy damage within 5 yards. Spread out.
|
|
Ability
|
What It Does
|
|
Aura of Peace (100 energy)
|
Protects allies within 40 yards. Attacking protected targets applies a 4-second pacify.
|
|
Tyr's Wrath
|
Stacking healing absorb on the 3 closest players. Rotate who stands closest.
|
|
Sacred Shield → Blinding Light
|
Senn shields herself (~1.4M absorb, interrupt immunity), then charges and casts Blinding Light (heavy raid damage + 5-second disorientation = wipe if not interrupted). Can only interrupt after the Sacred Shield is broken.
|
Role-Specific Strategies
Loot Table
|
Item
|
Type
|
Slot
|
|
Bellamy's Final Judgement
|
Weapon
|
—
|
|
Divine Toll
|
Trinket
|
Trinket
|
|
Consecration
|
Trinket
|
Trinket
|
|
Tier Tokens (all 4 variants)
|
Token
|
Head |
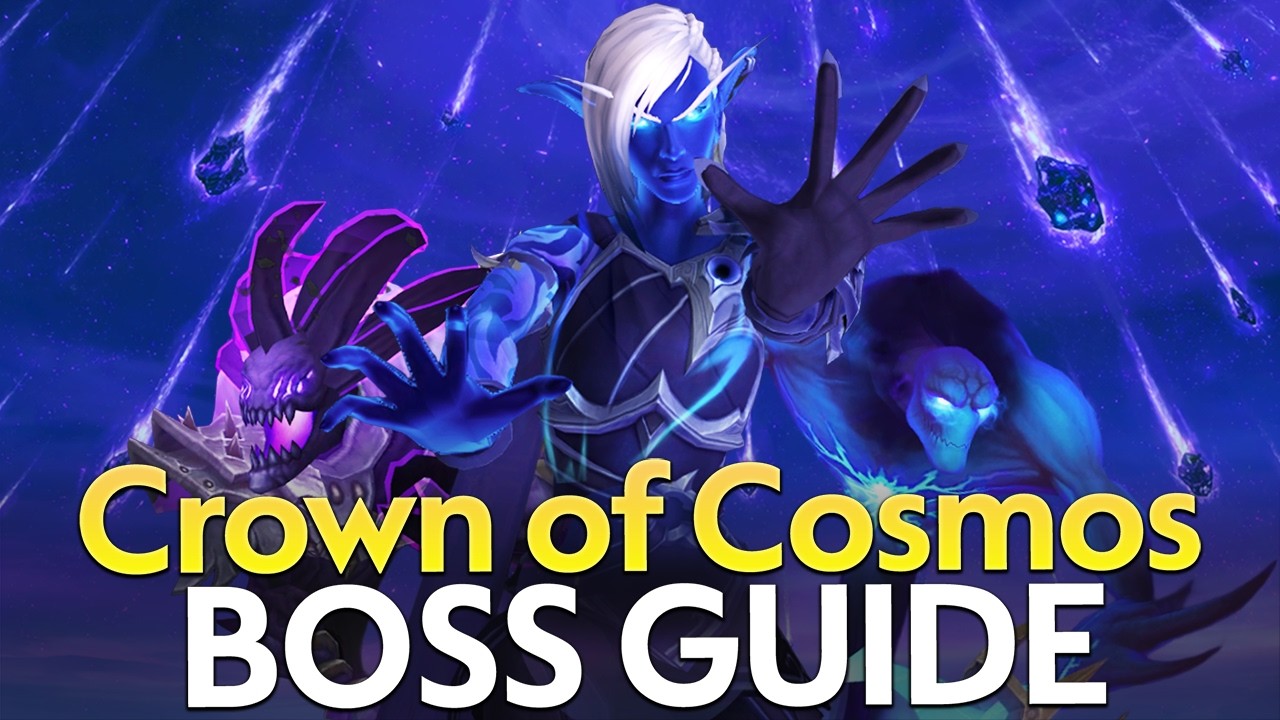
Boss 6: Crown of the Cosmos (Alleria Windrunner) — The Multi-Stage Finale
Stage One — Undying Sentinels
|
Ability
|
What It Does
|
|
Silverstrike Arrow
|
Alleria marks a player, firing a silver-lined arrow that removes Void effects from players and Voidspawn struck.
|
|
Void Droplet
|
Adds that apply Corrupting Essence on death (Shadow damage + 30% increased damage taken, 20 seconds, stacks).
|
|
Grasp of Emptiness
|
Obelisks apply Shadow DoT + slow (25% Normal / 35% Heroic / 60% Mythic). Removal triggers Bursting Emptiness.
|
|
Null Corona
|
Massive healing absorb on a player. If dispelled, the remaining absorb jumps to another player. Must be healed through or coordinated carefully.
|
|
Silver Residue
|
Sentinels struck by Silverstrike Arrow take an Arcane DoT until they die.
|
Stage 1.5 — Rift Simulacrum (Intermission)
Stage Two — The End of the End
|
Ability
|
What It Does
|
|
Silverstrike Barrage
|
Uncontrolled silver arrows. Being hit increases damage from subsequent arrows by 300% (Normal/Heroic) / 500% (Mythic). Stacks.
|
|
Stellar Emission
|
Void energy arcing outward every 2 seconds, with increased forced movement effects.
|
|
Orbiting Matter
|
Stellar mass orbiting Alleria, dealing Shadow damage and pulling colliding players.
|
|
Gravity Collapse
|
Rapid-cycling tank mechanic in the final phase.
|
Role-Specific Strategies
- Failing to tank Sentinels immediately, poorly aimed Silverstrike Arrows
- Panic-dispelling Null Corona
- Letting the Rift Simulacrum's Empowering Darkness stack too high
- Accumulated Void Remnants leaving no safe space in Stage Two
Loot Table
|
Item
|
Type
|
Slot
|
|
Ranger-Captain's Lethal Recurve
|
Bow
|
Ranged
|
|
Turalyon's False Echo
|
—
|
—
|
|
Null Corona
|
Trinket/Equipment
|
—
|
|
Ricocheting Arrow
|
Equipment
|
—
|
Tier Set Acquisition Guide
|
Boss
|
Slot
|
Token Type
|
|
Vorasius (Boss 2)
|
Hands
|
Hungering Nullcore
|
|
Fallen-King Salhadaar (Boss 3)
|
Shoulders
|
Unraveled Nullcore
|
|
Vaelgor & Ezzorak (Boss 4)
|
Legs
|
Corrupted Nullcore
|
|
Lightblinded Vanguard (Boss 5)
|
Head
|
Nullcore (variant)
|
|
Chimaerus (The Dreamrift)
|
Chest
|
Separate raid
|
|
Token Name
|
Classes
|
|
Voidwoven
|
Priest, Mage, Warlock
|
|
Voidcured
|
Demon Hunter, Druid, Monk, Rogue
|
|
Voidcast
|
Evoker, Hunter, Shaman
|
|
Voidforged
|
Death Knight, Paladin, Warrior
|
Achievements and Glory Guide
Boss-Specific Glory Achievements
|
Boss
|
Achievement
|
|
Imperator Averzian
|
"The Only Winning Move Is Not To Play"
|
|
Vorasius
|
"Hungry Hungry Hatchlings"
|
|
Fallen-King Salhadaar
|
"It's Treason Then"
|
|
Vaelgor & Ezzorak
|
"Ready, Set, Snap!"
|
|
Lightblinded Vanguard
|
"Aura Farming"
|
|
Crown of the Cosmos
|
"We Will, In Fact, See It Again"
|
Key Progression Achievements
- Ahead of the Curve: Crown of the Cosmos — Defeat Alleria Windrunner on Heroic difficulty before the next major content patch. This is a time-limited achievement and one of the most sought-after rewards in Season 1.
- Cutting Edge: Crown of the Cosmos — Defeat Alleria Windrunner on Mythic difficulty before the next major content patch. Awarded to the top tier of Mythic raiders.
- Spirebane — Title awarded for completing a full Mythic clear of the Voidspire.
- Famed Slayer of the Voidspire — Title awarded to the first 200 guilds worldwide to complete a Mythic clear.
Mythic Progression and the Race to World First
Frequently Asked Questions
How many bosses are in Voidspire?
There are 6 bosses in the Voidspire raid: Imperator Averzian, Vorasius, Fallen-King Salhadaar, Vaelgor & Ezzorak, Lightblinded Vanguard, and Crown of the Cosmos.What item level does Voidspire drop?
Gear ranges from 233–243 base in LFR (max 250 upgraded) to 272–282 base in Mythic (max 289 upgraded). The maximum item level in Midnight Season 1 is 289.Where is the Voidspire entrance?
The entrance is located in the Voidstorm zone in Quel'Thalas, at coordinates approximately 45.4, 64.0.When does Voidspire open?
Normal and Heroic unlock on March 17, 2026. Mythic opens on March 24, 2026.Who is the final boss of Voidspire?
The final boss is Crown of the Cosmos — a corrupted version of Alleria Windrunner.What is the boss order in Voidspire?
Imperator Averzian → Vorasius → Fallen-King Salhadaar → Vaelgor & Ezzorak → Lightblinded Vanguard → Crown of the Cosmos.Where do tier sets drop in Voidspire?
Tier tokens (Nullcores) drop from bosses 2 through 5. Boss 1 and Boss 6 do not drop tier tokens. The Chest token comes from a separate raid, The Dreamrift.How long does a Voidspire clear take?
Estimated at 1–3 hours depending on difficulty and group experience.What is the Voidspire AOTC achievement?
Ahead of the Curve: Crown of the Cosmos is earned by defeating the final boss on Heroic difficulty. It is a time-limited achievement available only during the current season.What causes wipes on Imperator Averzian?
The most common wipe cause is allowing Averzian to claim three adjacent grid squares (triggering March of the Endless). Killing the wrong adds, missing interrupts, and dragging adds into the boss are also frequent issues.Is there an attunement for Voidspire?
No. There is no attunement quest. The raid unlocks globally on the scheduled dates.The Fastest Way to Clear Voidspire
- Voidspire Normal Boost — Starting at $71.99. Earn 246–256 ilvl gear, fill all three Great Vault slots, and collect tier token drops. The perfect entry point for the raid.
- Voidspire Heroic Boost — Secure the time-limited Ahead of the Curve: Crown of the Cosmos achievement and 259–269 ilvl loot before the season ends.
- Voidspire Mythic Boost — Starting at $319.99. Earn the Spirebane title, 272–282 ilvl gear, and a shot at the rare Mythic-exclusive mount from Crown of the Cosmos.


 Success

 Data
updated
Data
updated