


March on Quel'Danas & Dreamrift Raid Guide: Belo'ren, Chimaerus & Midnight Falls
Season 1 of World of Warcraft: Midnight dropped three raids on us. Voidspire gets the headlines. But the two raids most players are sleeping on, The Dreamrift and March on Quel'Danas, are where the real loot efficiency lives.
The Dreamrift gives you a chest-slot tier token from a single boss you can clear in under 20 minutes. March on Quel'Danas hands you the only omnitoken in Season 1 (the Chiming Void Curio) plus a shot at the Ashes of Belo'ren, the Mythic-exclusive mount that'll be a 1% drop once Midnight ends.
These aren't optional side content. They're the fastest path to completing your Tier 35 Nullcore set and gearing past ilvl 269 into Mythic territory.
This guide covers both raids, boss by boss, with full mechanics breakdowns and loot tables.
Two Raids You Can't Ignore in Season 1
Why Dreamrift & March on Quel'Danas Are Essential Weekly Content
Most players focus on Voidspire's six bosses because it looks like the "main" raid. That's a mistake.
The Dreamrift is a one-boss raid that drops ilvl 250–276 gear (Normal through Mythic) including a guaranteed chest-slot tier token. One boss, one lockout every week – that's the most efficient tier token farm in Season 1 by a mile.
March on Quel'Danas has two bosses, Belo'ren, Child of Al'ar and Midnight Falls (aka L'ura), dropping ilvl 253–282 gear. The final boss drops the Chiming Void Curio, the only omnitoken this season. You turn it in to Kirana near the raid entrance for any Tier 35 set piece of your choice. No RNG – you pick the slot you need.
That's three bosses per week handing you targeted tier pieces and some of the highest item-level gear outside of Mythic Voidspire. Skip them, and you're leaving guaranteed upgrades on the table.
Unlock Requirements & ilvl Thresholds
The Dreamrift opened on March 17 (Normal, Heroic, and Raid Finder), with Mythic following on March 24. March on Quel'Danas unlocks on March 31 across Normal, Heroic, and Mythic simultaneously, with Raid Finder and Story Mode available April 7.
Here's what you need to get in the door:
The Dreamrift:
- Required Level: 80
- Raid Finder minimum ilvl: 220
- Location: Harandar, accessible via the Rootway portal from Silvermoon City (/way #2393 36.8 68.4). If you don't have the portal, complete "The Root Cause" quest in the Midnight campaign. Raid entrance is at /way #2413 61.7 62.3.
March on Quel'Danas:
- Required Level: 80
- Raid Finder minimum ilvl: 227
- Location: Isle of Quel'Danas, Quel'Thalas
Both raids support Story Mode, Raid Finder, Normal, Heroic, and Mythic difficulties.
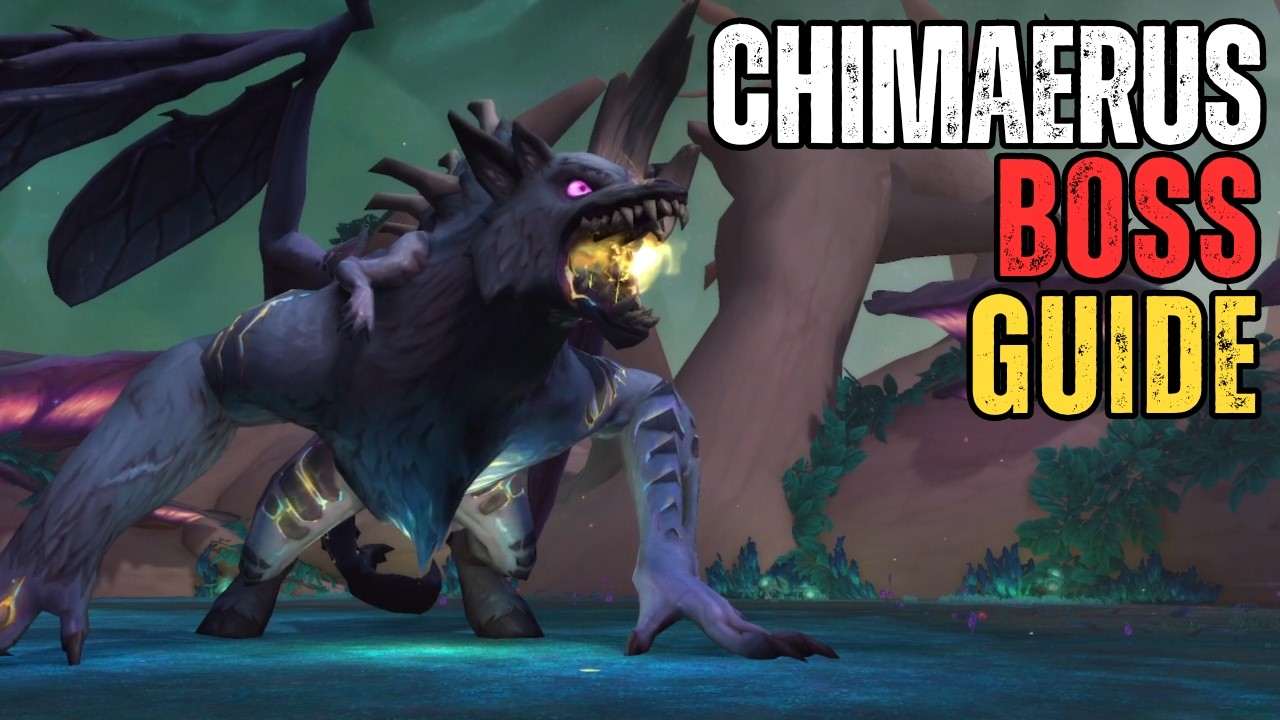
The Dreamrift — Chimaerus the Undreamt God
Boss Mechanics Breakdown
Chimaerus is a single-target fight with heavy add pressure and frequent target swaps. The recommended composition is 2 Tanks, 4 Healers, and 14 DPS.
The fight has two stages:
- Insatiable Hunger (ground phase)
- To The Skies (intermission)
They cycle until Chimaerus is dead. If you prefer video guides, here's a quick one by Zesty Guides to give you a better idea:
Phase 1: Insatiable Hunger
The core mechanic is Manifestation adds and the Aln realm.
Alndust Upheaval targets the active tank with nature damage that splits among nearby soakers. After soaking, affected players gain Alnsight for 40 seconds. This buff lets you see and attack adds in the Aln reality. Once Alnsight expires, you get a vulnerability debuff, so your raid needs to rotate groups.
Rift Emergence spawns Manifestation adds with absorb shields and applies a raid-wide absorb effect. Three types of adds spawn:
- Colossal Horror is a tank add with escalating damage per melee strike. Tanks need to pick these up immediately.
- Haunting Essence casts dispellable fears and interruptible bolt damage. Interrupt priority is high.
- Swarming Shade has no abilities, but if these reach the boss, you're in serious trouble.
Every add that reaches Chimaerus triggers raid-wide damage, heals the boss for 200% of the add's remaining health, and increases boss damage by 100%. These stack. Two adds consumed is rough. Three is a wipe.
Caustic Phlegm applies a raid-wide DoT lasting 12 seconds. Healers need to be ready for this on every cycle.
Rending Tear is a frontal cone targeted at a random player. Dodge it or take heavy damage plus a nasty bleed.
Consuming Miasma places large circles on players lasting one minute. You can dispel these, but only while standing in add puddles (which removes the puddles). Dispelling in the raid splashes damage to everyone nearby. Don't be that person.
At 100 energy, Chimaerus casts Consume, eating all remaining adds and triggering the intermission.
Phase 2: To The Skies (Intermission)
Chimaerus takes flight and gains Rift Shroud, a 99% damage reduction shield. You can't touch the boss during this phase.
Corrupted Devastation sends the boss flying in breath-lines across the arena, leaving puddles and spawning fresh Manifestations. The raid needs to dodge the breaths while handling adds.
The phase ends with Ravenous Dive. Chimaerus crashes down and instantly devours every living Manifestation in the arena. Each one consumed stacks Cannibalized Essence, buffing the boss's damage for the next ground phase.
Then Phase 1 restarts. The fight is a war of attrition: every add you fail to kill before the dive makes the next phase harder.
Strategy by Role (Tank / Healer / DPS)
🛡 Tanks
Split into two groups (1 tank, 2 healers, 7 DPS per group). Your job is picking up Colossal Horrors immediately and positioning so the raid can AoE small adds efficiently. Rotate groups cleanly. Miscommunication here means adds slip through.
💊 Healers
Caustic Phlegm hits every cycle, and healing gets progressively harder as the fight goes on. Save cooldowns for post-Consume phases when Cannibalized Essence stacks are high. Watch for Consuming Miasma dispels. Only dispel players standing in add puddles.
🗡 DPS
Priority is clear: kill adds before they reach the boss. Big adds first, then stack small adds for AoE. During the intermission, focus on the fresh Manifestation spawns because every one alive when Ravenous Dive hits becomes a permanent damage buff on Chimaerus.
Comp-wise, you need enough interrupts, enough burst AoE, and enough people who can follow a target priority list without being told twice. That matters more than class balance here.
Loot Table & Tier Token Efficiency
Chimaerus drops chest-slot tier tokens distributed by armor class:
| Token | Classes | Slot |
|---|---|---|
| Alnwoven Riftbloom | Warlock, Priest, Mage | Chest |
| Alncured Riftbloom | Demon Hunter, Rogue, Monk, Druid | Chest |
| Alncast Riftbloom | Evoker, Hunter, Shaman | Chest |
| Alnforged Riftbloom | Death Knight, Paladin, Warrior | Chest |
Item levels by difficulty:
| Difficulty | Item Level | Currency |
|---|---|---|
| Raid Finder | 237 (Veteran 2/6) | Veteran Dawncrest |
| Normal | 250 (Champion 2/6) | Champion Dawncrest |
| Heroic | 263 (Hero 2/6) | Hero Dawncrest |
| Mythic | 276 (Myth 2/6) | Myth Dawncrest |
Beyond tier tokens, the boss drops 2 trinkets, a staff, an off-hand, armor pieces across all armor types, 4 housing decorations with difficulty-specific variants, and profession recipes (Enchanting formula and Leatherworking pattern).
Why Dreamrift Is the Best Loot-Per-Minute Raid
One boss, one lockout, and a guaranteed chest-slot tier token. Clears in under 20 minutes for a coordinated group.
No trash packs, no marathon six-boss progression night. You just walk in, kill Chimaerus, walk out with a tier piece and 250–276 ilvl gear.
If you're a time-starved player trying to complete your Tier 35 Nullcore set, this is the single best use of your weekly raid lockout. Run it on the highest difficulty you can handle, every single week.
💪 Need help clearing Chimaerus?
Heroic or Mythic? Our Chimaerus Kill Boost works for both – get a clean kill with guaranteed loot. Or grab the the full Dreamrift Raid Boost and let us handle it.
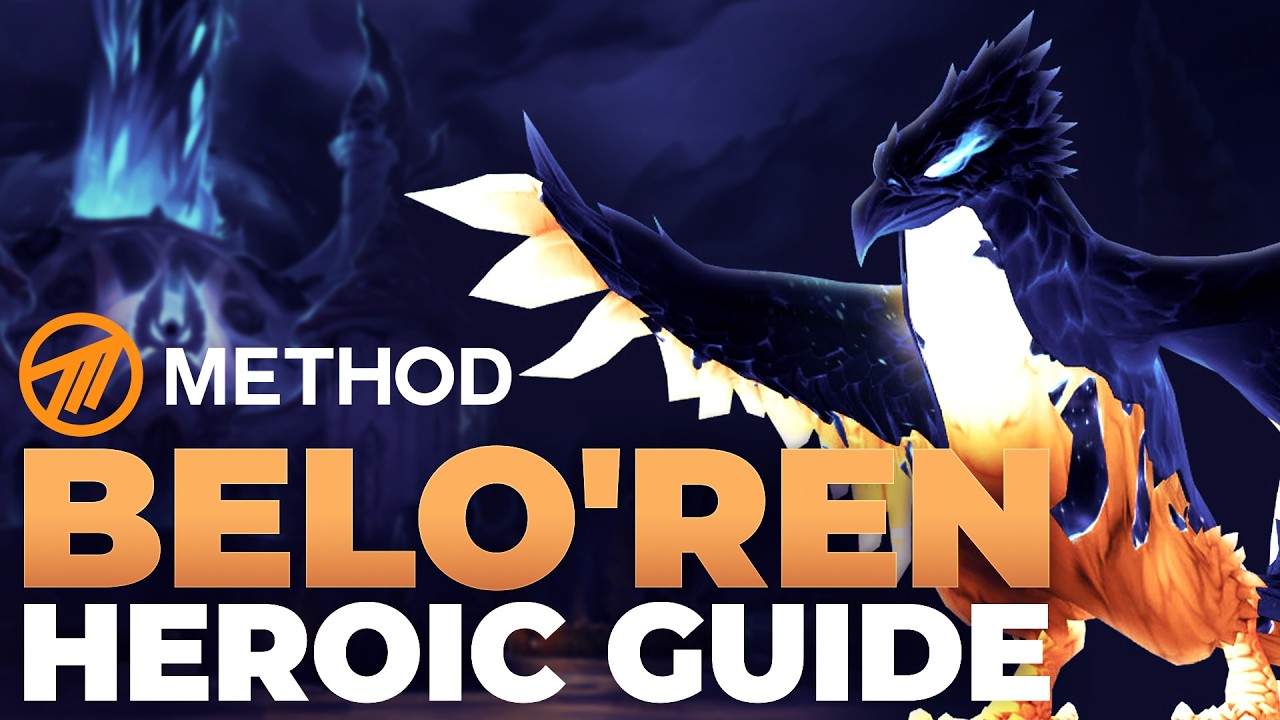
March on Quel'Danas — Boss 1: Belo'ren, Child of Al'ar
Boss Mechanics & Phase Transitions
Belo'ren is a single-target fight with add pressure and frequent target swaps. Recommended comp: 2 Tanks, 4 Healers, 14 DPS.
Two phases cycle until the boss dies: Phoenix Form and Rebirth (Egg) Form. Here's a brief video guide from Method that shows how it works:
Phase 1: Phoenix Form
At the start of the encounter, Voidlight Convergence assigns every player either a Light Feather or Void Feather. This splits your raid into two teams, and here's the golden rule that governs the entire fight: never get hit by anything that's the opposite color.
Light Feather players take 50% reduced damage from Holy mechanics. Void Feather players take 50% reduced damage from Shadow mechanics. Get hit by the wrong color and you're eating full damage plus debuffs.
Burning Heart deals continuous raid damage every 3 seconds throughout the fight, intensifying during egg phases. This is the baseline healing check.
Light/Void Dive spawns Ember adds with soak circles. Only matching-color players should soak matching-color circles. Wrong color means unnecessary damage and potential one-shots.
Infused Quills fires a beam at a random player. Matching-color players should intercept to minimize damage. Wrong-color players intercepting take the full hit.
Radiant Echoes sends orbs across the arena that create gaps when popped. Contact with the wrong color applies a heavy 20-second damage-over-time effect. Position carefully.
Guardian's Edict is the tank mechanic. Matching-color tanks must intercept matching frontals. If the wrong tank eats it, the boss gains a 30% damage buff. Tank swap discipline matters a lot on this one.
Phase 2: Rebirth (Egg Phase)
When Belo'ren reaches 0% health, the boss casts Death Drop (a massive knockup) then reforms as an egg in the center of the arena. The egg's health pool is the boss's actual remaining HP.
You get 30 seconds to burn the egg. Players stand in matching-color cones while popping orbs to create safe gaps. This is your Hero/Bloodlust window. Save it for the egg phase, not Phoenix Form.
You won't kill the egg in one phase. Expect multiple Phoenix-to-Egg cycles before the boss goes down. Each cycle applies a stacking Ashen Benediction debuff that reduces all healing by 10% per phase. The fight gets progressively harder, so clean execution early matters more than you think.
Strategy & Positioning
🛡 Tanks
Communicate constantly about color assignments for Guardian's Edict. A single missed swap gives the boss 30% more damage and can snowball into a wipe. Use Warlock Gateway during Death Drop to reposition quickly for egg phase.
💊 Healers
Budget cooldowns across multiple egg phases. Don't blow everything on the first one. Ashen Benediction stacking means phase 3 and beyond need your strongest cooldowns. Burning Heart damage is constant, so keep HoTs rolling.
🗡 DPS
Focus color-matching mechanics above all else. Ember adds die fast if the right-colored players handle them. Save burst cooldowns and Hero/Lust for egg phases. That's where your damage actually counts toward the kill.
Place Dives on markers to manage expanding puddles. Keep the arena clean or you'll run out of room by the third egg phase.
As Method player Purke put it, the fight "feels hectic, but in a fun 'we're gaming' way, not a 'why does this exist' way." Color-matching is the entire encounter. Master it and the kill follows.
Loot Table
| Difficulty | Item Level | Currency |
|---|---|---|
| Raid Finder | 240 (Veteran 3/6) | Veteran Dawncrest |
| Normal | 253 (Champion 3/6) | Champion Dawncrest |
| Heroic | 266 (Hero 3/6) | Hero Dawncrest |
| Mythic | 279 (Myth 3/6) | Myth Dawncrest |
Notable drops include cloth armor (Waist, Shoulder), leather (Chest), mail (Legs, Feet), and plate (Hands). Trinkets are Radiant Plume, Umbral Plume, and The Eternal Egg. Weapon drops are the Belo'melorn dagger, Belo'ren's Swift Talon dagger, and Thalassian Dawnguard shield. There's also the Sin'dorei Band of Hope ring and a Blessed Phoenix Egg housing decoration.
💀 Looking for a clean Belo'ren kill?
Our Belo'ren Carry pairs you with pro players who've already perfected the color-matching mechanics. Fast, safe, loot guaranteed.
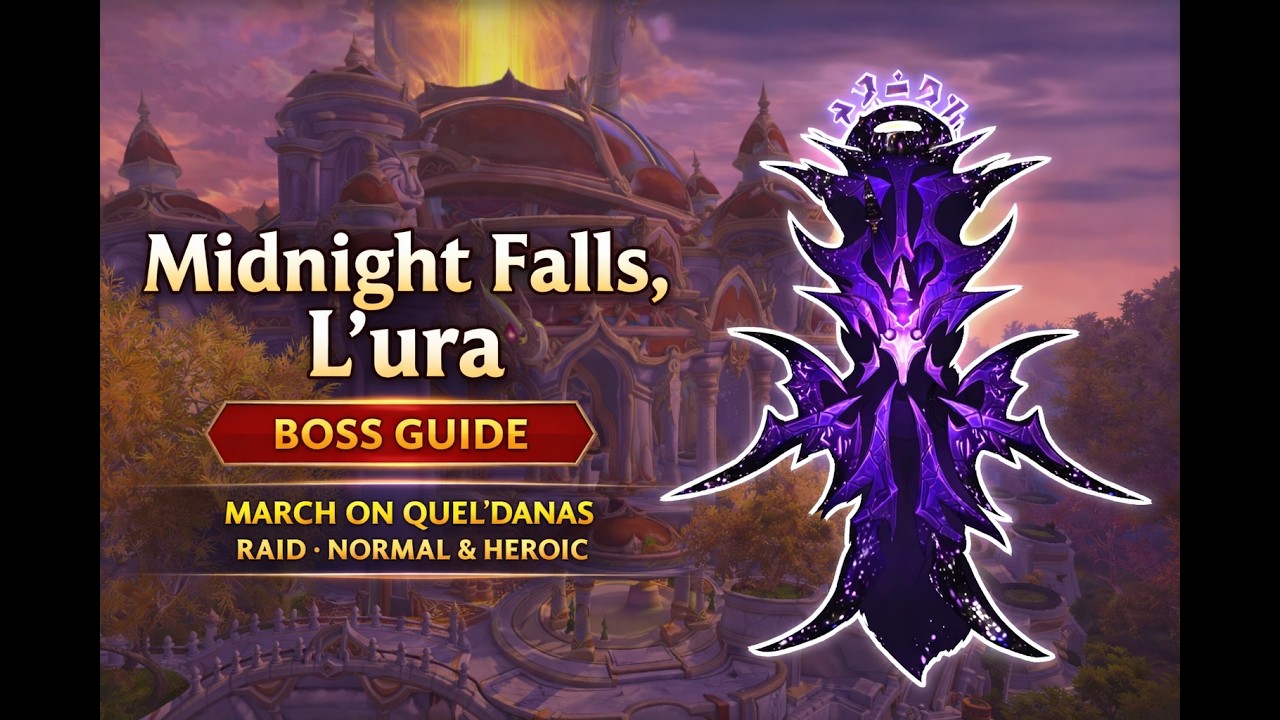
March on Quel'Danas — Boss 2: Midnight Falls (L'ura)
Boss Mechanics & Void Phases
Midnight Falls is an endurance fight with overlapping mechanics. Two phases, three systems running at the same time. Precision matters here more than anywhere else in Season 1.
System 1: Death's Dirge
L'ura sings a dreadful melody and marks players with Dark Runes corresponding to each note. She then fires a sweeping laser that activates each Dark Rune it hits. It's sequential: you need to manage your rune positions so the laser activates them in the correct order. Mess up the sequence and the cascading raid damage will punish everyone.
System 2: Heaven's Glaives
L'ura unleashes whirling blades that ricochet through the chamber. These deal massive Cosmic damage on direct contact, with reduced damage as they lose speed. Track the blade trajectories and stay out of their path. They don't stop after one bounce.
System 3: Termination Prism & Safeguard Prism
This is the interrupt check. L'ura synthesizes revolving matrices:
- Safeguard Prism creates matrices that each reduce her damage taken by 33% for up to 20 seconds. Fail to break these, and the boss becomes nearly unkillable.
- Termination Prism creates matrices that each increase her damage done by 33% for up to 20 seconds. Fail to break these, and your healers drown.
Both systems run simultaneously with the other mechanics. Your interrupt rotation needs to be airtight. You can see how all these systems work in this video guide by Calooseeus:
Phase 1: The Darkwell Siege
L'ura stands at the center adjacent to the Darkwell. The raid fights at the arena edge while managing all three systems at once: Heaven's Glaives, Death's Dirge runes, and Prism interrupts. This phase is pure survival.
Phase 2: Shattered Sky
L'ura gets angrier. Shattered Sky adds constant AoE shadow damage for 25 seconds while all Phase 1 mechanics continue at an accelerated pace. It's the burn window and the survival check at the same time. If your interrupts and positioning aren't tight, Phase 2 will end you.
If you've done the Alleria encounter, the overlapping complexity feels familiar, but the margins for error are tighter. You can't skip mechanics and heal through it. You execute or you die.
The Chiming Void Curio — Only Omnitoken in Season 1
This is the big one. Midnight Falls drops the Chiming Void Curio, the only omnitoken in all of Season 1.
Normally, tier tokens drop for specific slots from specific bosses across three raids. You're at the mercy of RNG, hoping the right piece drops from the right boss on the right week. The Chiming Void Curio bypasses all of that.
Take the curio to Kirana near the March on Quel'Danas entrance and exchange it for any Tier 35 Nullcore set piece of your choice. Need gloves to complete your 4-piece bonus? Pick gloves. Helmet? Done. You choose the slot.
The item level of the piece matches the difficulty you cleared:
| Difficulty | Curio Item Level |
|---|---|
| Raid Finder | 243 (Veteran 4/6) |
| Normal | 256 (Champion 4/6) |
| Heroic | 269 (Hero 4/6) |
| Mythic | 282 (Myth 4/6) |
One important limitation: you can only hold one Chiming Void Curio in your inventory at a time. So use it before your next clear.
This single item is the reason March on Quel'Danas is mandatory weekly content. Every other tier token in the game is random. This one is a choice.
Mythic Exclusive: Ashes of Belo'ren Mount
If you're a mount collector, this is the prize.
The Ashes of Belo'ren drops exclusively from Mythic Midnight Falls. During Season 1, three mounts drop per kill as personal loot. That means up to 3 players per Mythic raid can walk away with it each week.
Once the Midnight expansion ends, the drop rate plummets to roughly 1%. That's the same brutal RNG as Invincible or Ashes of Al'ar from years past. If you want this mount, Season 1 Mythic is when to get it.
The mount itself is a void-corrupted phoenix, a visual callback to Al'ar but twisted by the same darkness that consumed Belo'ren. You've probably already seen it in trade chat screenshots. It looks incredible.
Full Midnight Falls Loot Table
| Difficulty | Item Level | Currency |
|---|---|---|
| Raid Finder | 243 (Veteran 4/6) | Veteran Dawncrest |
| Normal | 256 (Champion 4/6) | Champion Dawncrest |
| Heroic | 269 (Hero 4/6) | Hero Dawncrest |
| Mythic | 282 (Myth 4/6) | Myth Dawncrest |
Notable drops beyond the Chiming Void Curio include armor pieces, trinkets, weapons, and 4 difficulty-based housing decoration trophies. Plus a Blacksmithing recipe for crafters.
⚔️ Can't find a reliable Mythic raid team?
We have a pro team you can be confident in. Need a clean Midnight Falls Kill? Our players handle the mechanics so you walk away with loot, the Chiming Void Curio, and your Ahead of the Curve achievement.
Or maybe the mount is your priority? Our Ashes of Belo'ren Mount Boost runs you through Mythic Midnight Falls with experienced players. Three drops per kill means solid odds, and you keep everything that drops to you.
Weekly Clear Strategy: Maximize Loot from Both Raids
The 3-part weekly routine that'll get you geared fastest in Season 1 looks like this:
1. Start with The Dreamrift
It's Tuesday, the reset day – the first thing you do is run The Dreamrift. One boss, 15–20 minutes. Grab your chest-slot tier token and any gear upgrades. Run this on the highest difficulty your group can handle. Mythic if possible for ilvl 276 gear.
2. Then hit March on Quel'Danas
Two bosses, maybe 45–60 minutes depending on your group's familiarity with the mechanics. Belo'ren drops ilvl 253–279 gear. Midnight Falls drops ilvl 256–282 gear plus the Chiming Void Curio.
Use the Curio immediately after your clear. Turn it in to Kirana for whichever tier slot you're missing. Don't sit on it. You can only hold one at a time, and every week you delay is a week your 4-piece bonus gets pushed back.
3. Finish with Voidpsire
After both raids Head into Voidspire for its six bosses and additional tier tokens (specific slots per boss).
The math is simple. Three bosses across Dreamrift and March on Quel'Danas give you:
- One guaranteed chest-slot tier token (Chimaerus)
- One guaranteed any-slot tier token (Chiming Void Curio from Midnight Falls)
- High-ilvl gear drops from all three encounters
- A shot at the Ashes of Belo'ren on Mythic
That's two targeted tier pieces per week from just three boss kills. No other raid in Season 1 matches that loot-per-boss efficiency.
Professional Raid Carry Services
Maybe you don't have the roster. Maybe you don't have the schedule. Either way, that's what we're here for.
ArmadaBoost runs carry services for every encounter in this guide:
- Dreamrift Raid Boost: Full Chimaerus clear on Normal, Heroic, or Mythic. Tier token and gear included.
- Chimaerus Kill Boost: Targeted single-boss kill for players who want just the Chimaerus lockout.
- March on Quel'Danas Boost: Both bosses cleared. Chiming Void Curio guaranteed from Midnight Falls.
- Belo'ren Carry: First boss carry for targeted loot drops.
- Midnight Falls Kill: Final boss kill for the Curio, achievements, and a shot at the Ashes of Belo'ren on Mythic.
- Ashes of Belo'ren Mount Boost: Mythic-only mount farm. Three drops per kill during Season 1.
All services come with vetted pro players and account security guarantees. 4.8 stars on Trustpilot across 3,600+ verified reviews.
FAQ
How do I get the Chiming Void Curio?
Defeat Midnight Falls (L'ura), the final boss of March on Quel'Danas, on any difficulty. The Chiming Void Curio drops as personal loot. Take it to Kirana near the raid entrance and exchange it for any Tier 35 Nullcore set piece of your choice. The item level matches the difficulty you cleared (Normal: 256, Heroic: 269, Mythic: 282). You can only hold one at a time, so use it before your next clear.
What does Chimaerus drop?
Chimaerus the Undreamt God in The Dreamrift drops chest-slot tier tokens for all armor classes (Alnwoven, Alncured, Alncast, and Alnforged Riftbloom), plus trinkets, weapons (staff and off-hand), armor pieces, housing decorations, and profession recipes. Item levels range from 237 (Raid Finder) to 276 (Mythic).
How do I get the Ashes of Belo'ren mount?
The Ashes of Belo'ren drops exclusively from Mythic Midnight Falls in March on Quel'Danas. During Season 1, three mounts drop per kill as personal loot for random players in the raid. Once the Midnight expansion ends, the drop rate falls to approximately 1%. Farm it now while the odds are in your favor.
When does March on Quel'Danas open?
March on Quel'Danas unlocks on March 31, 2026 with Normal, Heroic, and Mythic difficulties available simultaneously. Raid Finder and Story Mode open on April 7. The Dreamrift is already live as of March 17 (Normal/Heroic/RF) and March 24 (Mythic).
What item level do I need for these raids?
The Dreamrift requires a minimum ilvl of 220 for Raid Finder. March on Quel'Danas requires a minimum ilvl of 227 for Raid Finder. For Normal and above, there's no strict minimum, but you'll want at least ilvl 240+ for Normal and ilvl 260+ for Heroic to pull your weight.
Can I run both raids in the same week?
Yes. The Dreamrift and March on Quel'Danas have separate lockouts from each other and from Voidspire. You should run all three every week for maximum tier set and gear progression.
Last updated: March 25, 2026. March on Quel'Danas releases March 31. This guide will be updated with additional strategy details and kill data after the first week of live clears.


 Success

 Data
updated
Data
updated